Full Home Furnishings Metamorphosis
Having collected a variety of furnishings over the course of their marriage some 15+ years ago, this couple was looking for a major change in their home. They loved their home, just not what was IN their home. They were looking for a complete furnishings refresh that would be a modern reflection of their style.
There were a few items they wanted to keep—an heirloom buffet, a dining table and chairs from a family member, a grandmother’s vintage phone table, for instance. All of their beds, at least the mattresses, were fine to keep but we needed to add bed frames to level-up the bedrooms.
Other than that, we essentially had a blank slate!
Check out the room-by-room, before and after overview below.
And, if you are looking for a furnishings refresh for your home, give a call!
FOYER
The original foyer felt dark and unwelcoming. We took this opportunity to update the front door, the entryway lighting, and extend the living room wood flooring into the foyer for a more cohesive space. We neutralized the paint color but added colorful modern art for a pop of color.

Foyer before
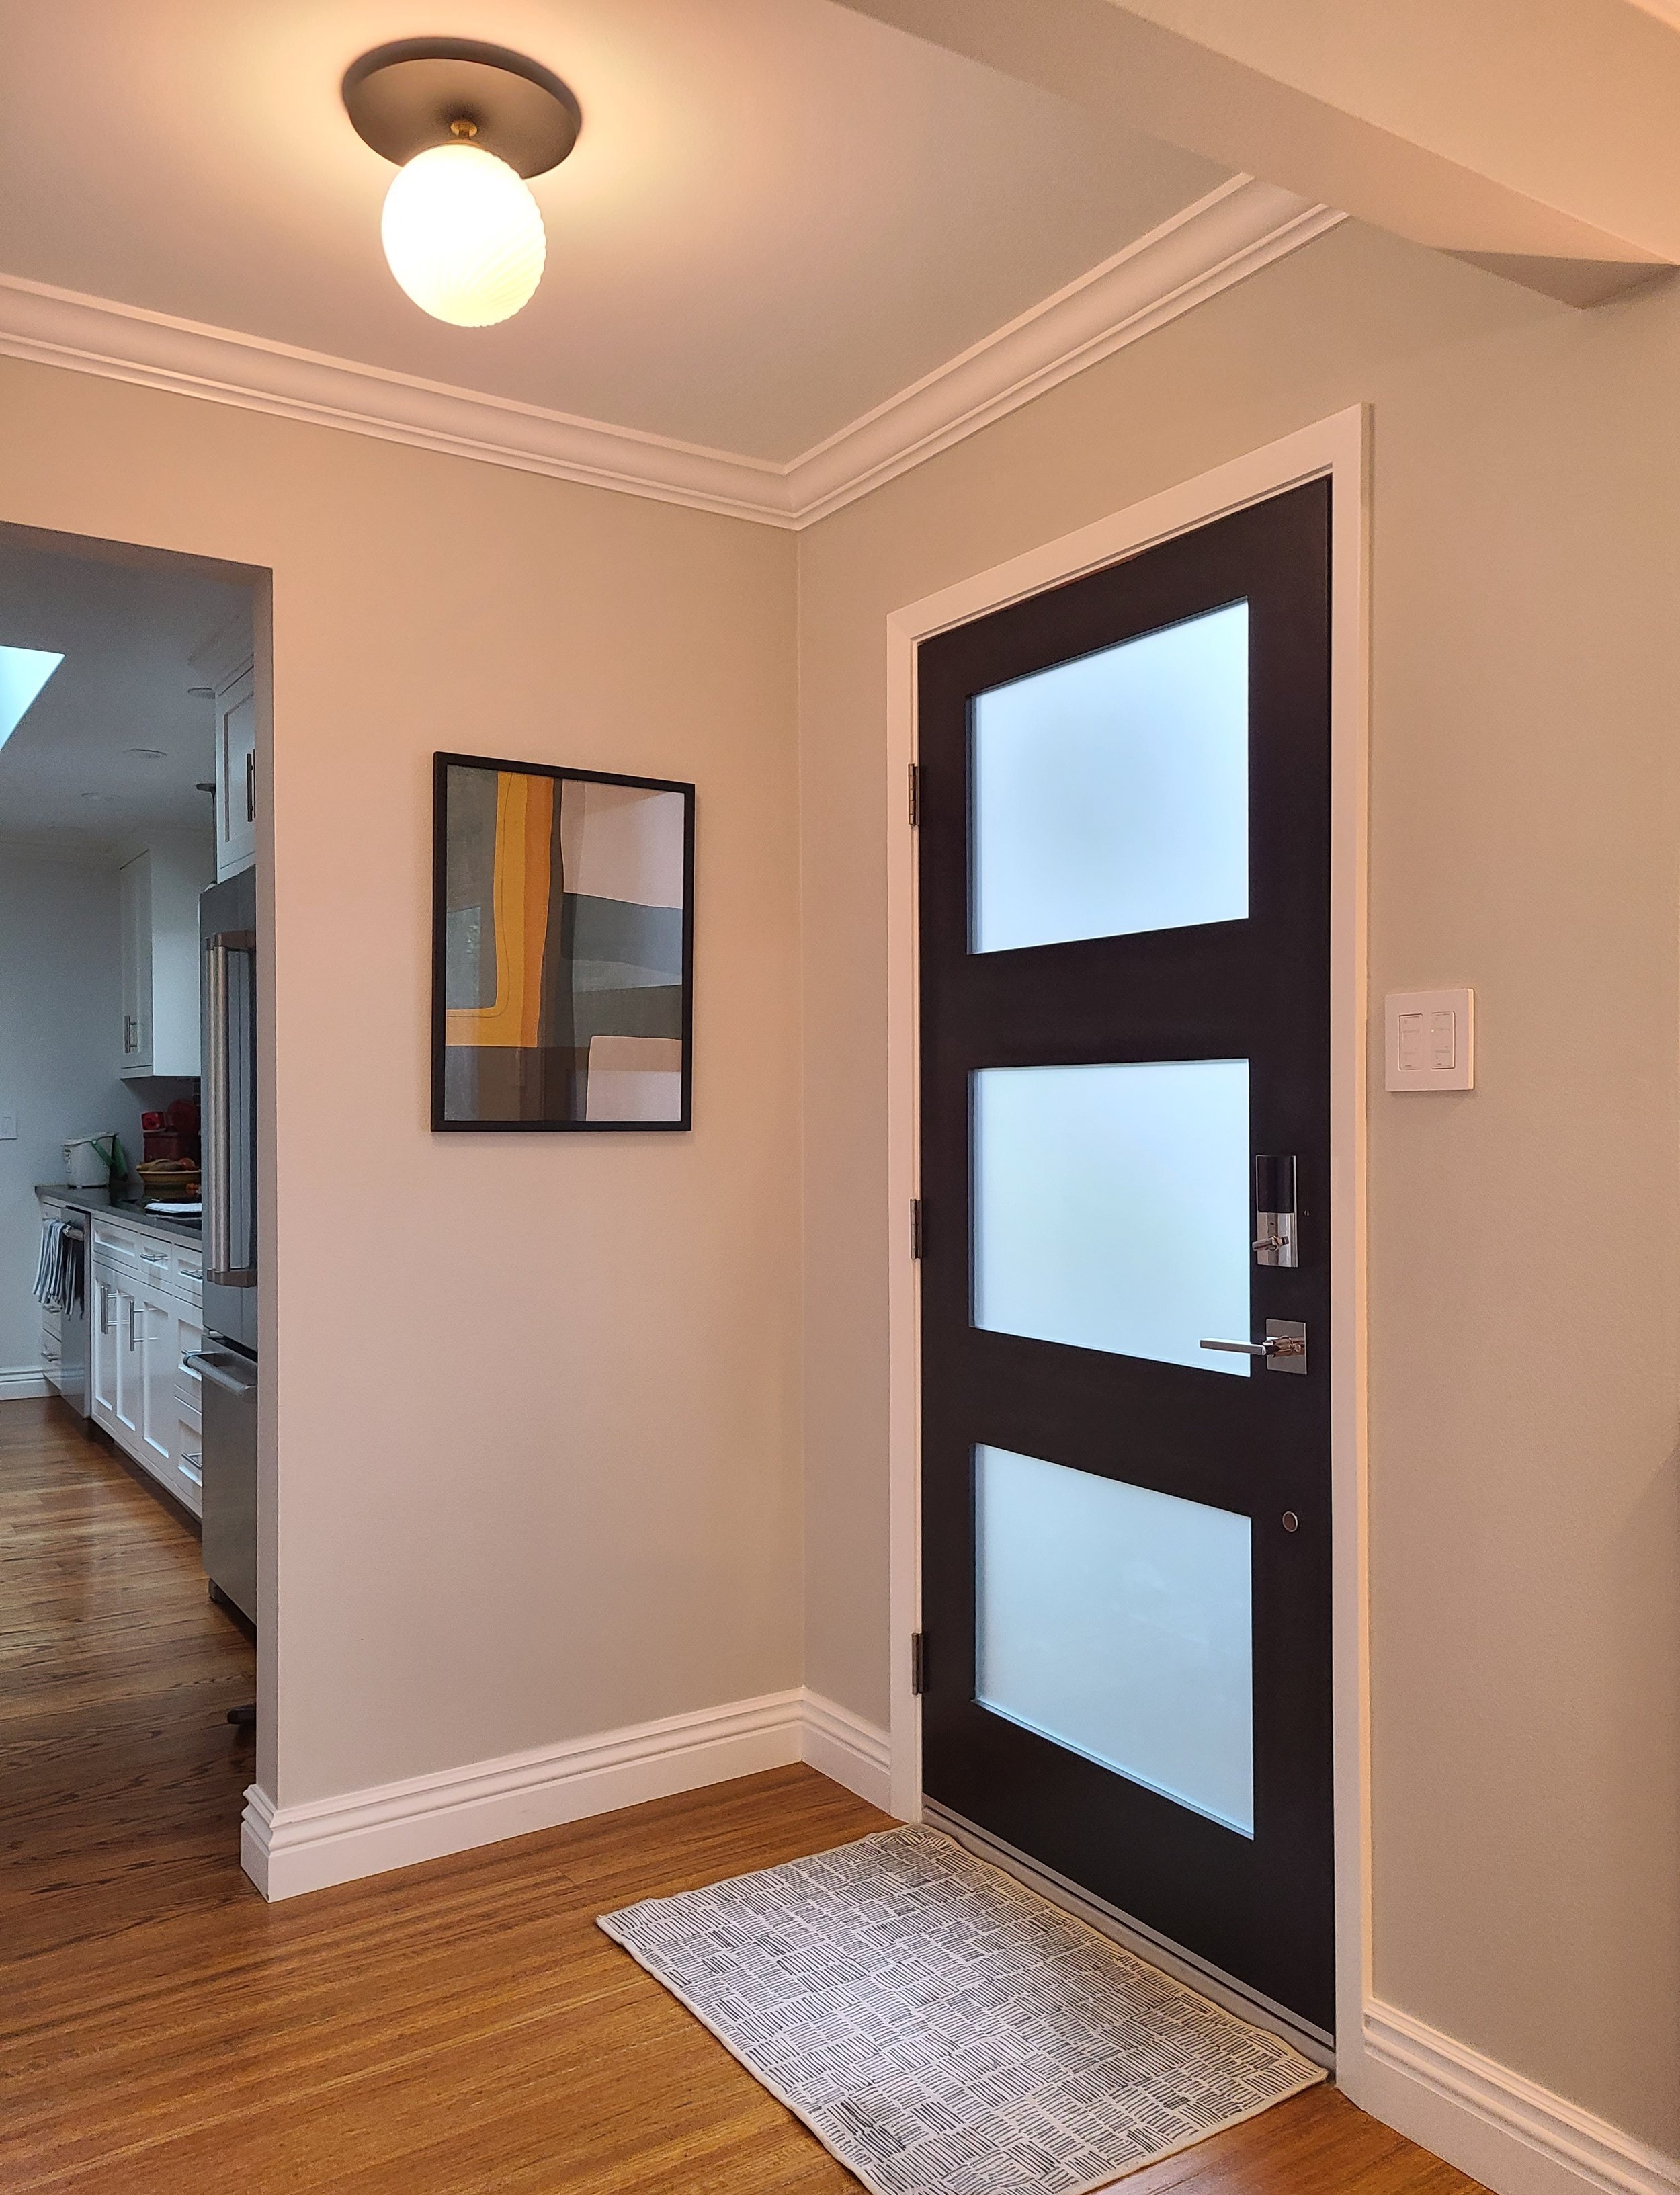
Foyer after
LIVING ROOM
As the primary living space and the largest room in the home, the living room had a lot of unique areas that could use a refresh.
FIREPLACE
We noticed that there were several issues with the fireplace area that could use our attention:
The hearth did not span the full width of the brick chimney.
Not very modern tile on the hearth.
The owner used the void where the hearth wasn’t extended to place a piece of furniture that they used for electronics.
You can’t see it but, behind the tower of electronics is an electrical plug on the brick that can not be easily moved.
The sound bar was not centered under the TV.
The glass-front fireplace insert was not very modern.

Fireplace before
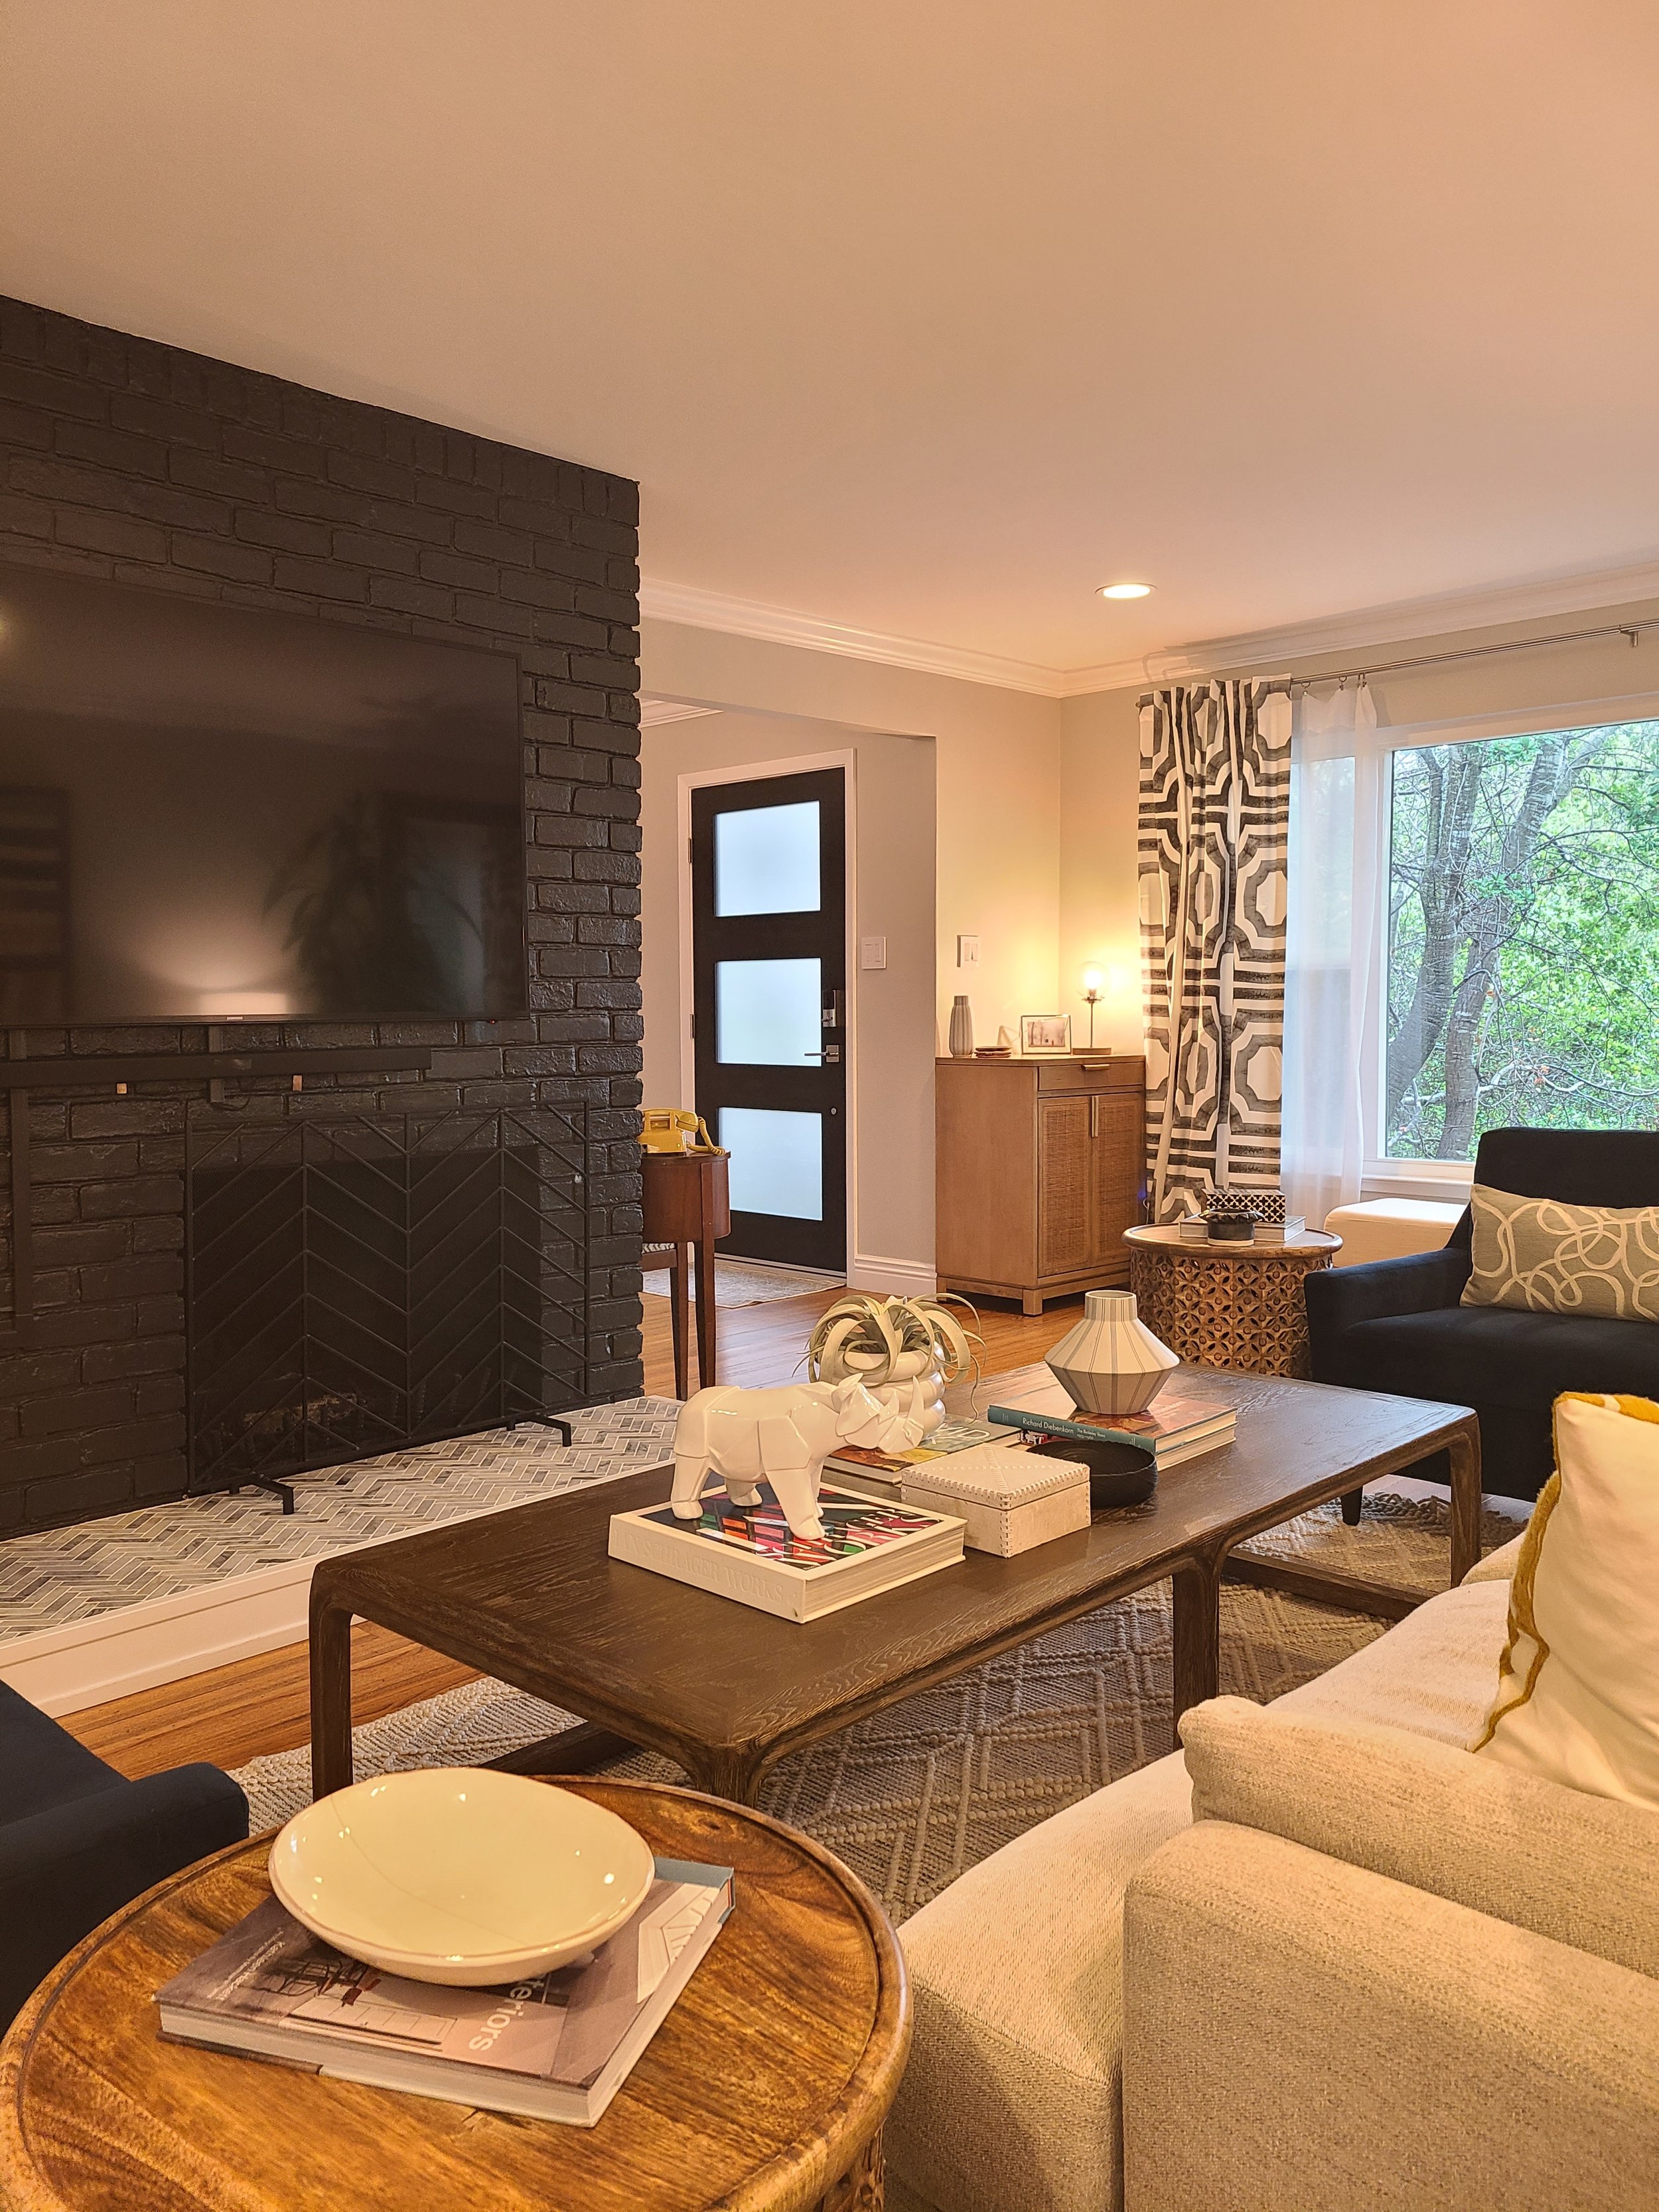
AFTER: Our solution
Extend the hearth to the width of the chimney and use a classic marble tile that will stand the test of time.
Paint the chimney a dark gray so the fireplace, TV and sound bar don’t stand out as features.
Center the sound bar under the TV and use low profile, painted, cord management covers to hide the electrical cords.
Remove the tower of electronics—most of which were not being used!
Remove the glass fireplace insert, repaint firebox interior, and add a decorative fireplace screen (new fireplace tools are on order!)

Fireplace after
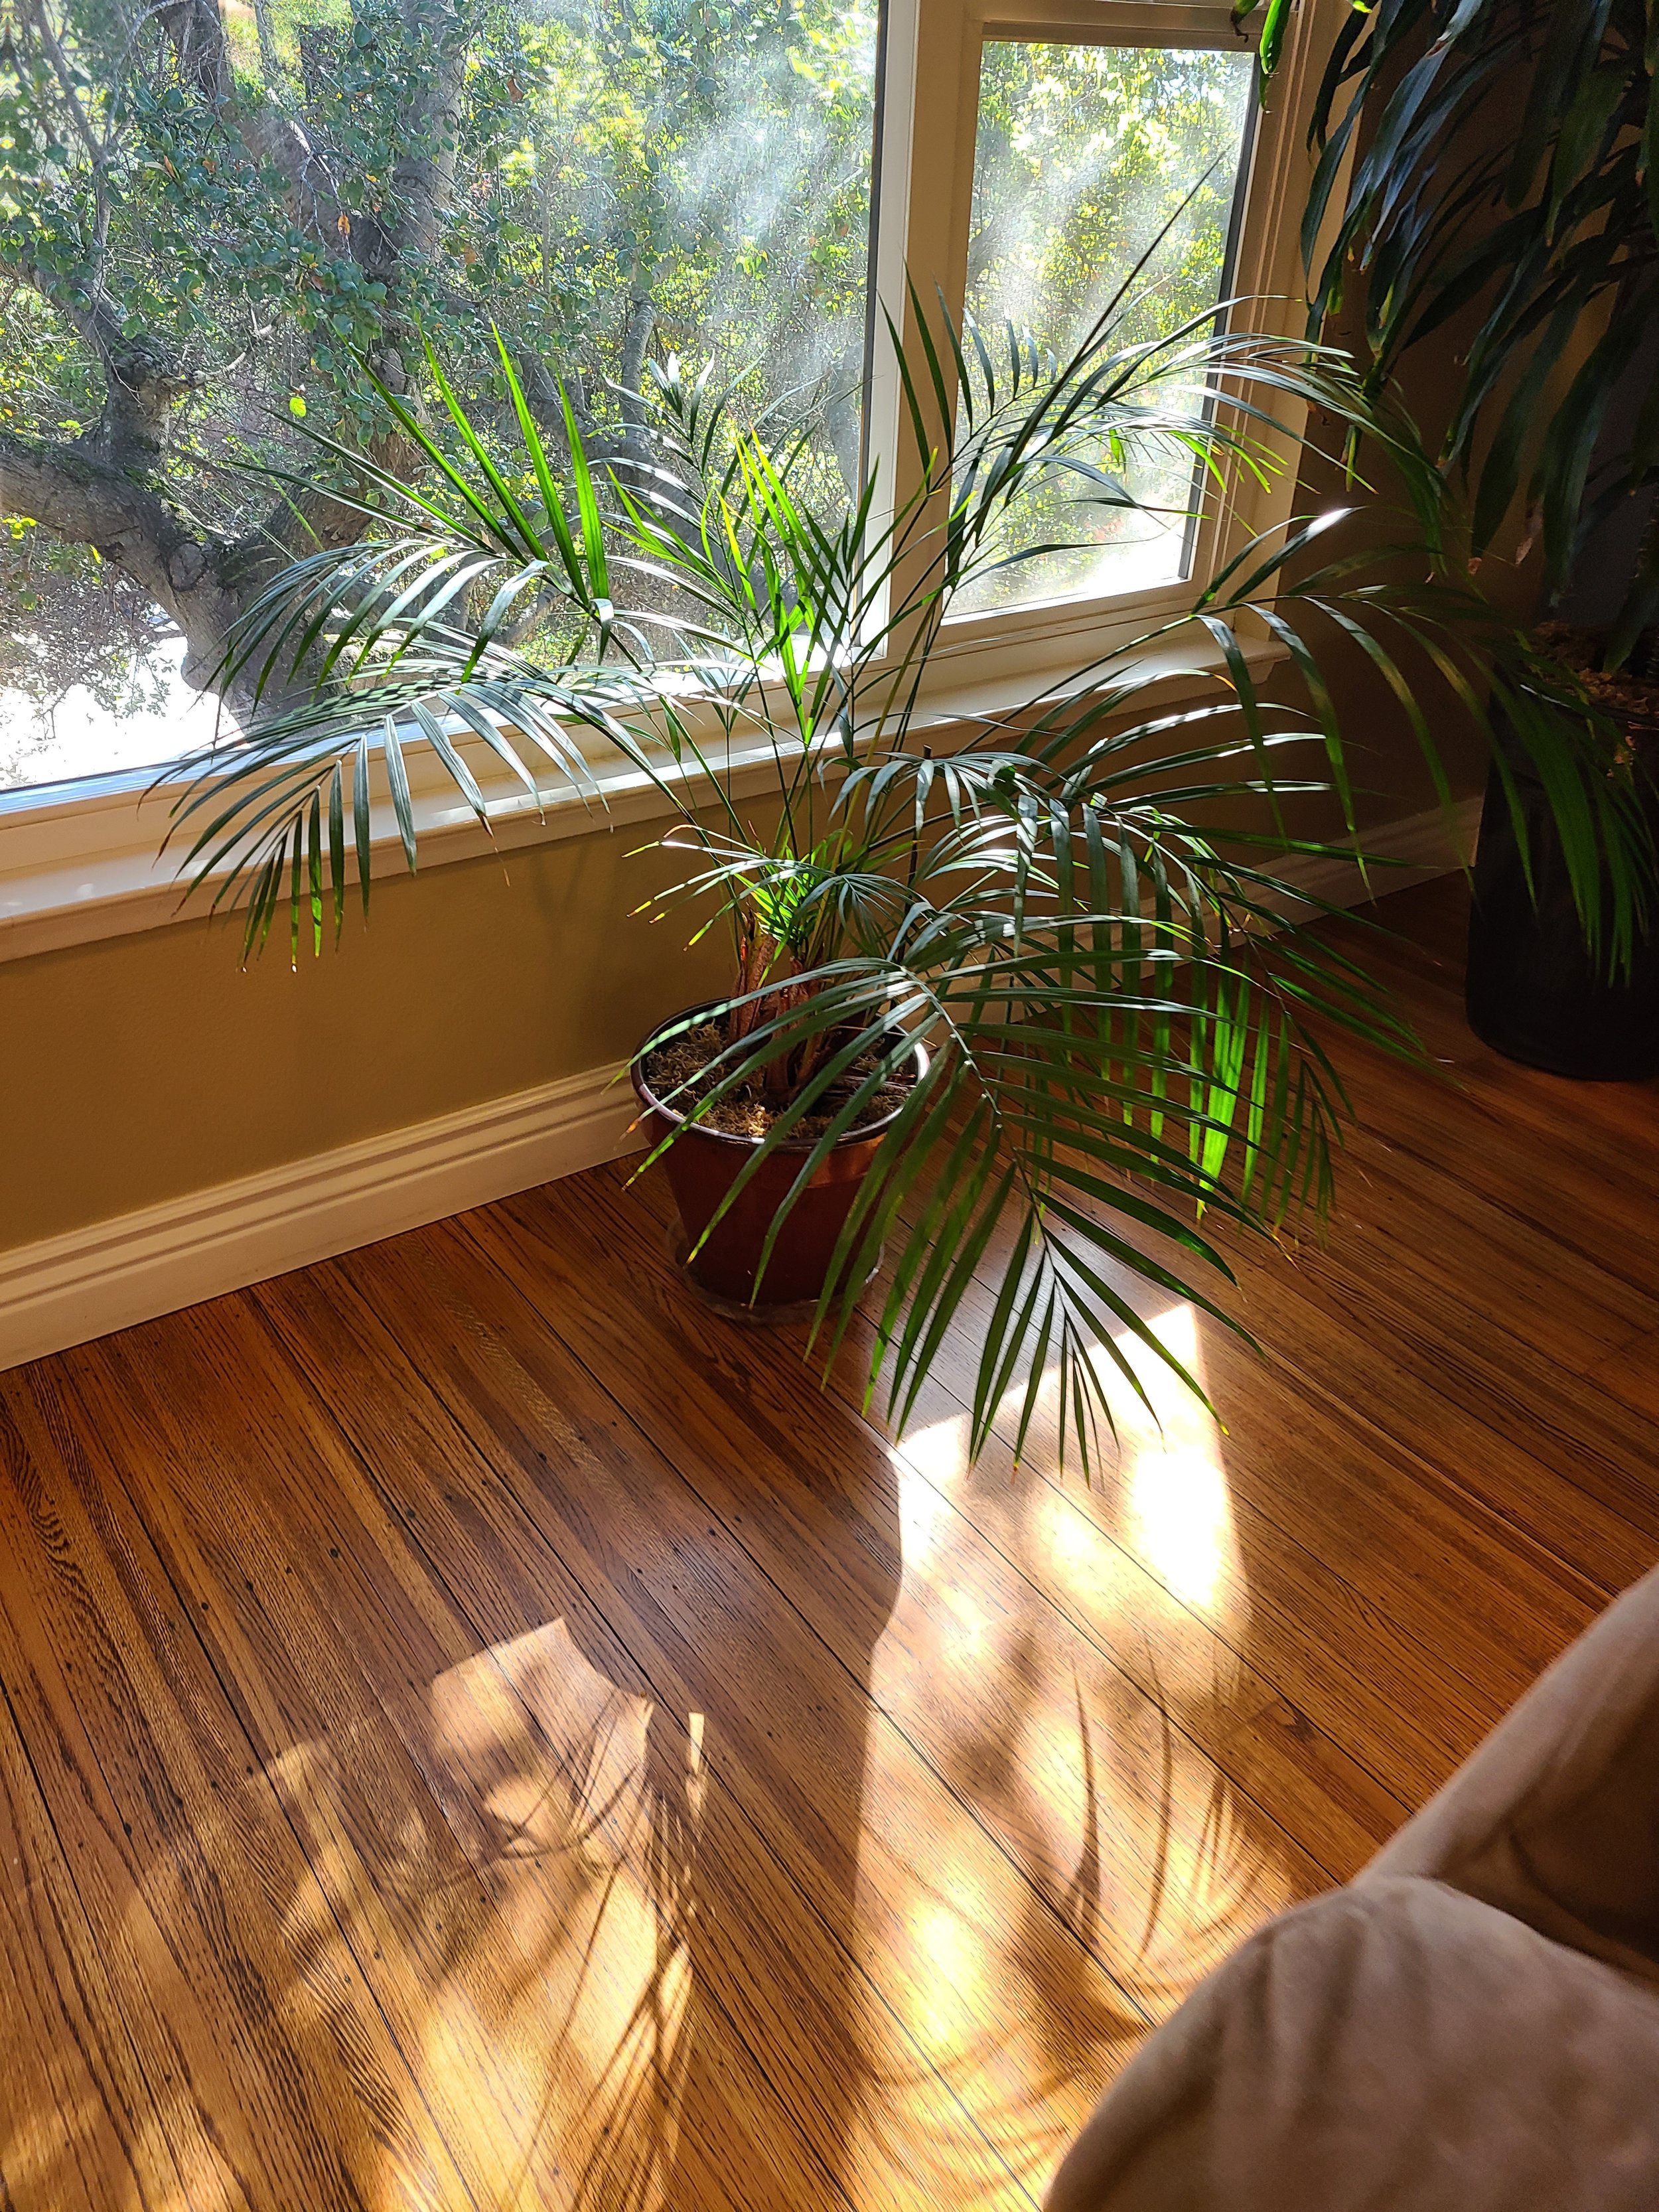
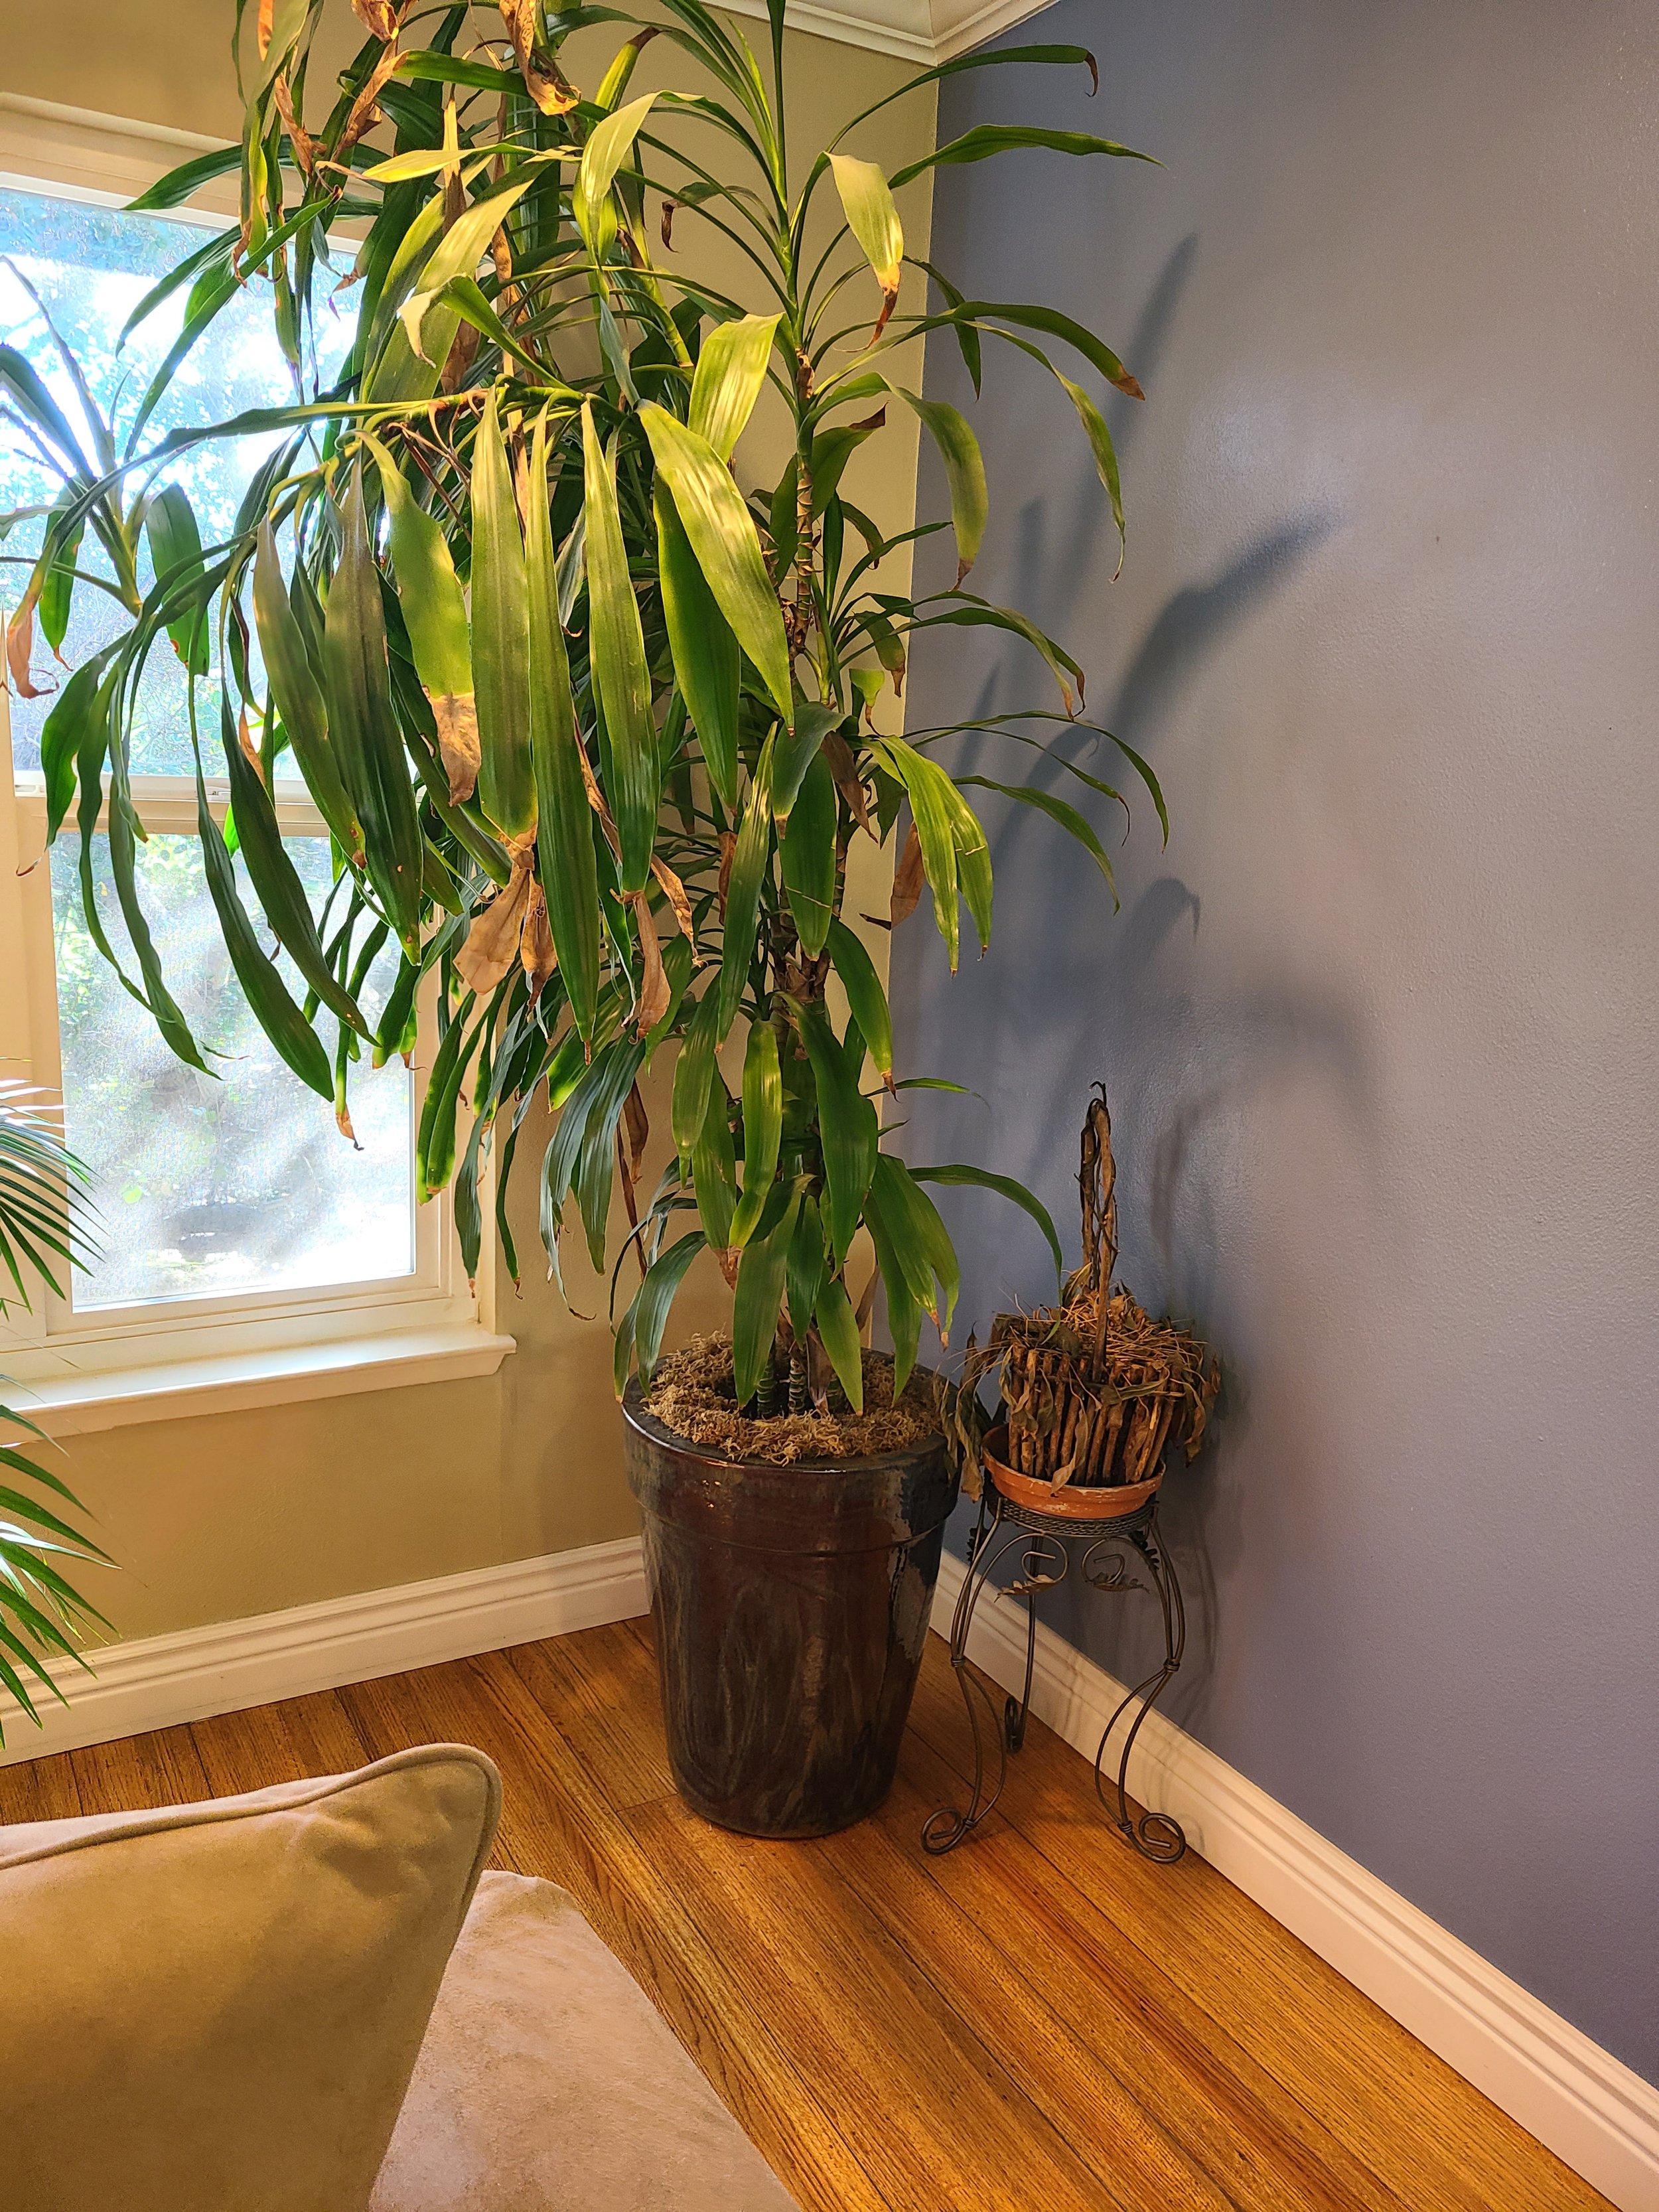
FRONT WINDOW AREA
The front window area felt like a bit of no-man’s land. They had a table they used as an entry table but it didn’t have storage and wasn’t really being used how they would like. The window was just a place to put plants so they could get some sunlight.

Before: Entryway and a no-storage entry table

Before
Before
Before
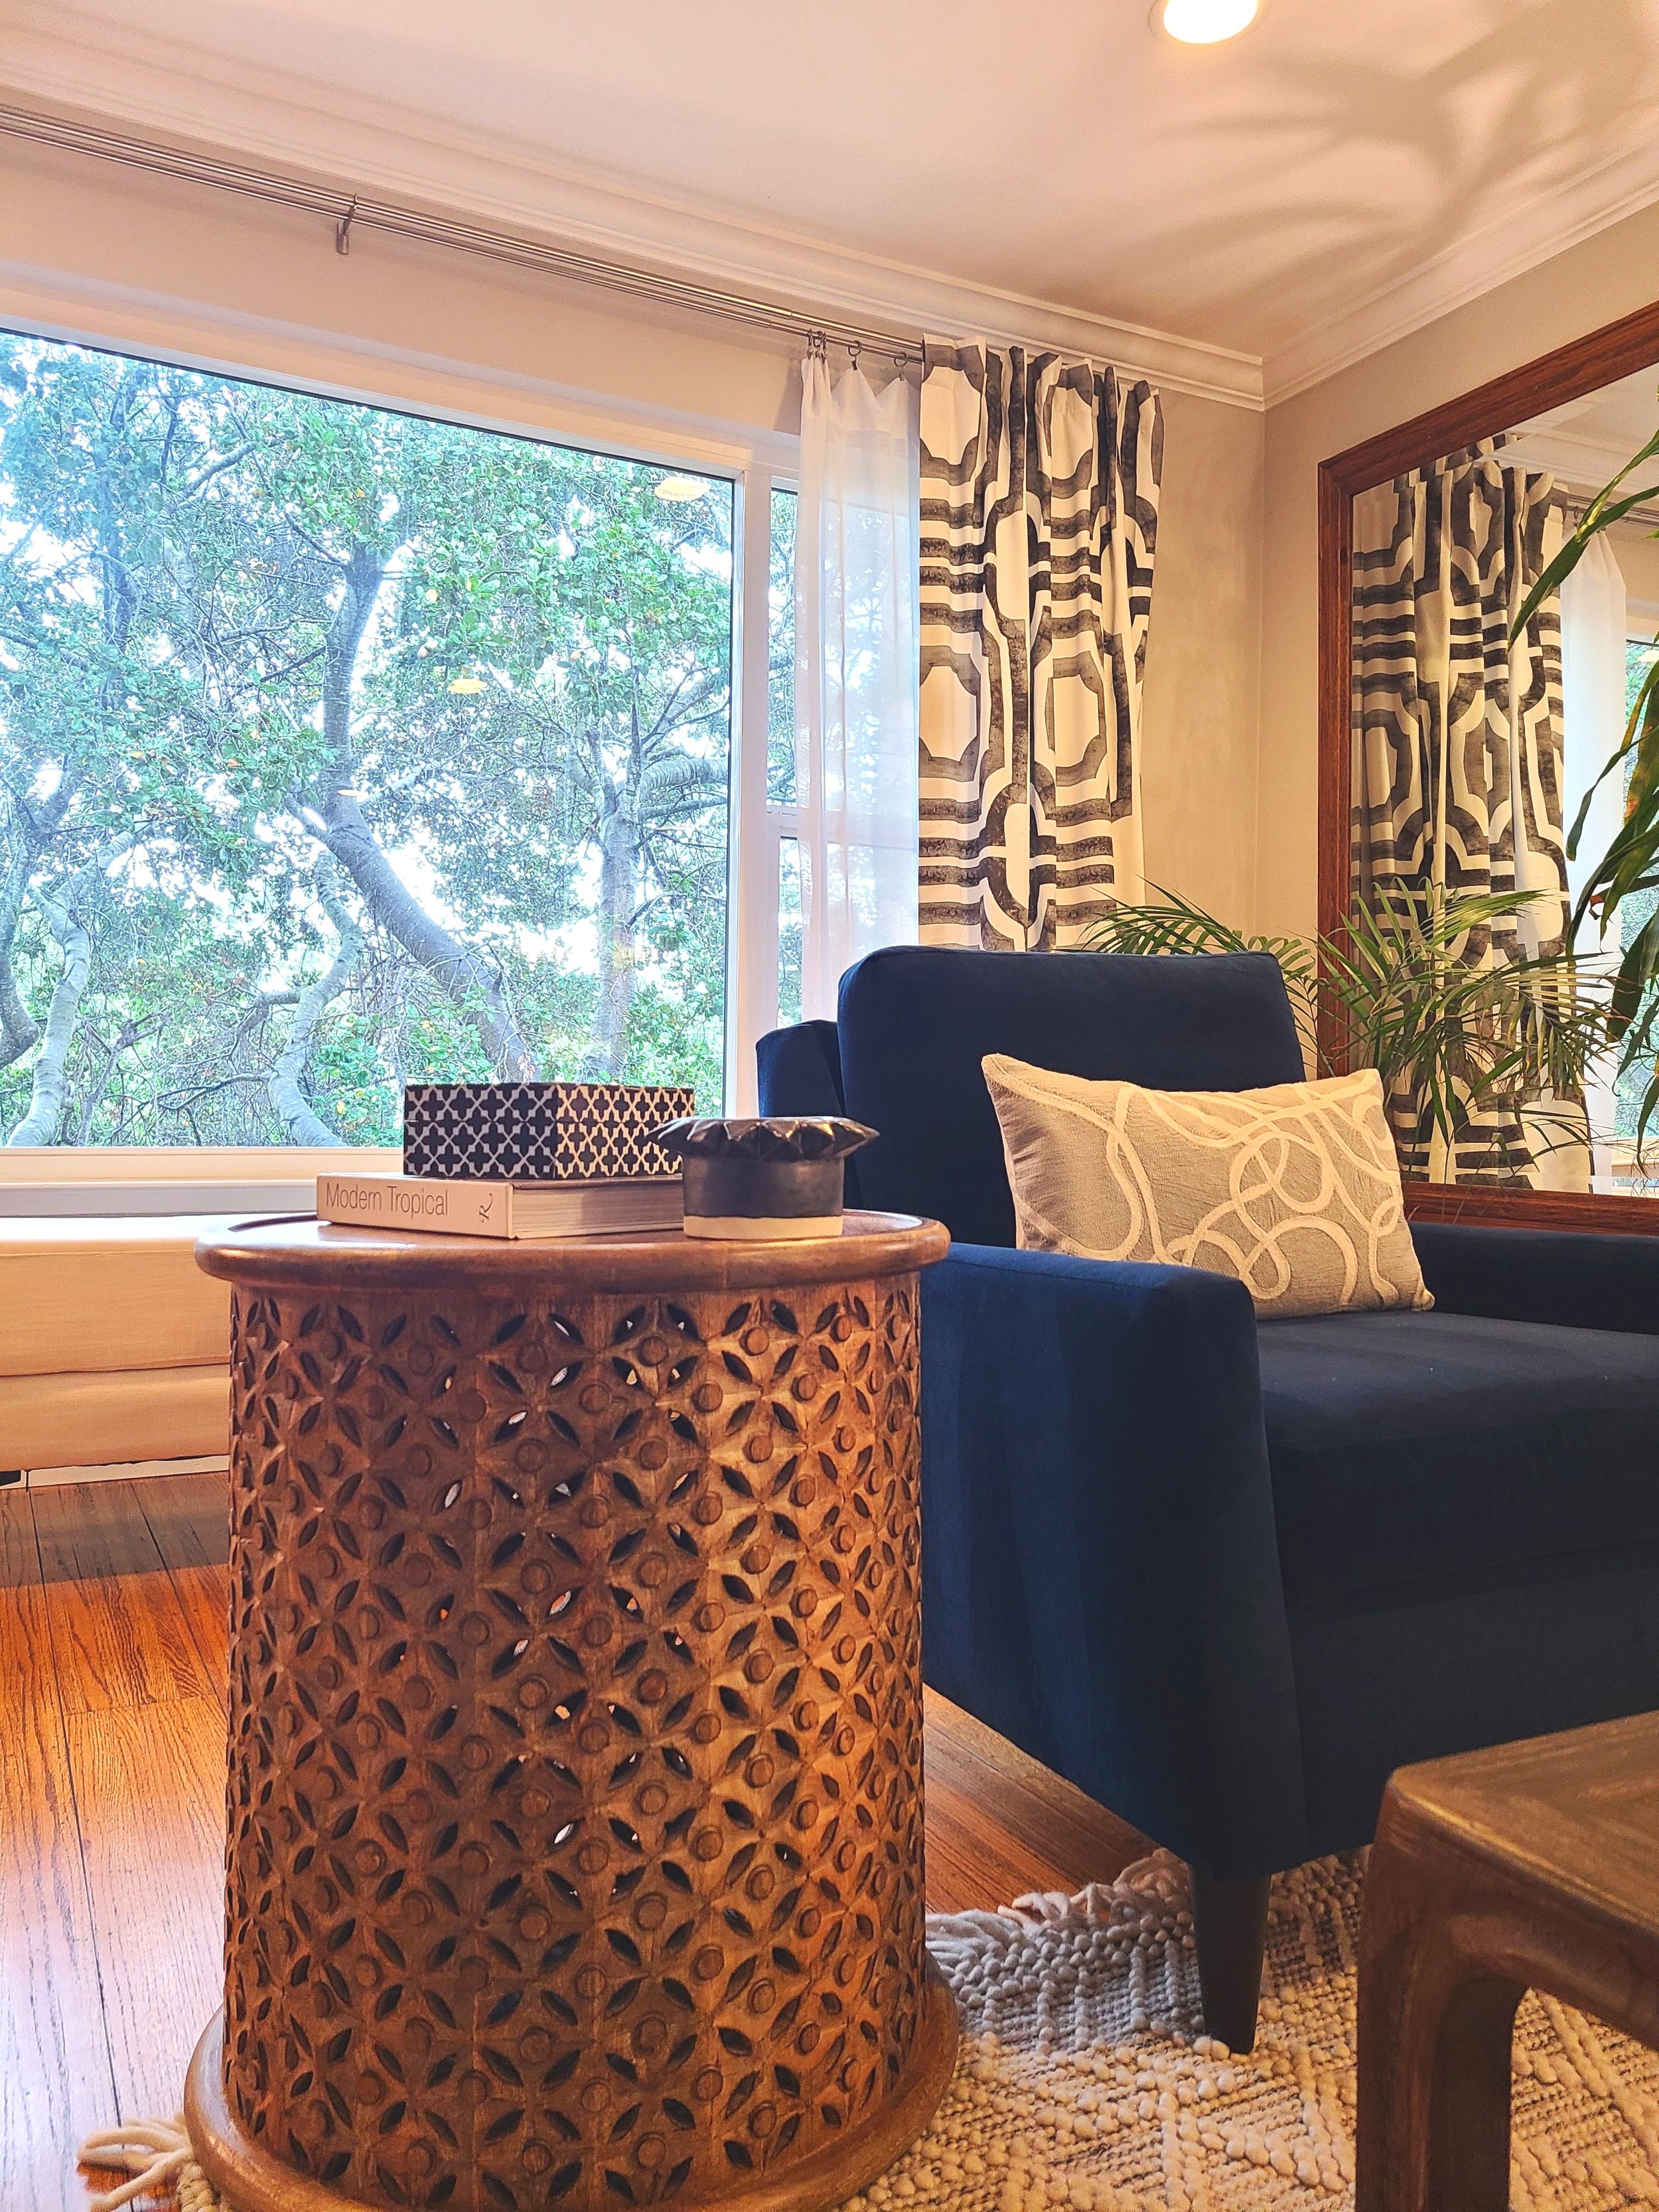
AFTER: Our solution
We changed the entry table to a storage cabinet that could hide umbrellas, shoes and dog leashes. We added an interesting little lamp for some warmth. We are still awaiting the mirror that is supposed to go above the cabinet.
The area was softened by framing the window with decorative curtains (still to be hemmed) in a fun graphic print that worked well with the balance of the living room. Even though the front of the home is elevated amongst the tree tops, the sheers were added so they could be pulled closed for diffused privacy.
A comfy bench in the window provided the function of a spot to sit while putting shoes on while adding another layer of “cozy” to the former “no man’s land” area.
We repurposed a large wood framed mirror from the dining room and used it as “art” that provides a reflective quality to the space and gives a nice background to the large plants.

After

After

After
MAIN LIVING SPACE
All in all, the living room just need a complete modernizing refresh that was more in keeping with the couple’s current style.
Here is what it looked like before:

Before

Before. Notice the little pony wall that we removed

Before
AFTER: Our solution
Our “after” was a similar layout but with modernized furnishings. There was a distracting, odd pony wall (a short wall) to the right of the sofa so we removed that and patched the woods floors as part of the modernization process. We also repainted the walls a neutral color and let the color be presented through the art and furnishings. Take a look!

After

After
After

After
After
HOME OFFICE
The home office is really a pass-through area between the living room and the dining room. And while we can share the before images for the full space, we only have after images of the lounge area of this space. The desk area was in active use and we were asked not to shoot right now. But, we will get those shots later because the new desk set up is, of course, smokin’ hot!
Anyway, here are the before shots….

Before

Before

Before
AFTER: Our solution
Since the office was a pass through area between the living room and dining room/kitchen, we wanted to declutter the space and elevate its level of sophistication while still being fun and colorful. We replaced the cluttery bookcase with a custom neon art piece. And the seating area became more refined with upholstered seating.

After
DINING ROOM
The majority of the furnishings in the dining room were staying put as they were family heirlooms or gifts. So, for this space we just wanted to give it a bit of a modern refresh that could work well with the existing furnishings. This meant adding window treatments, a new area rug, upholstered head and foot chairs for more formal occasion use, statement artwork on an accent wall and a modern style chandelier on a dimmer.
Take a look at the before and afters to follow.

Before

Before
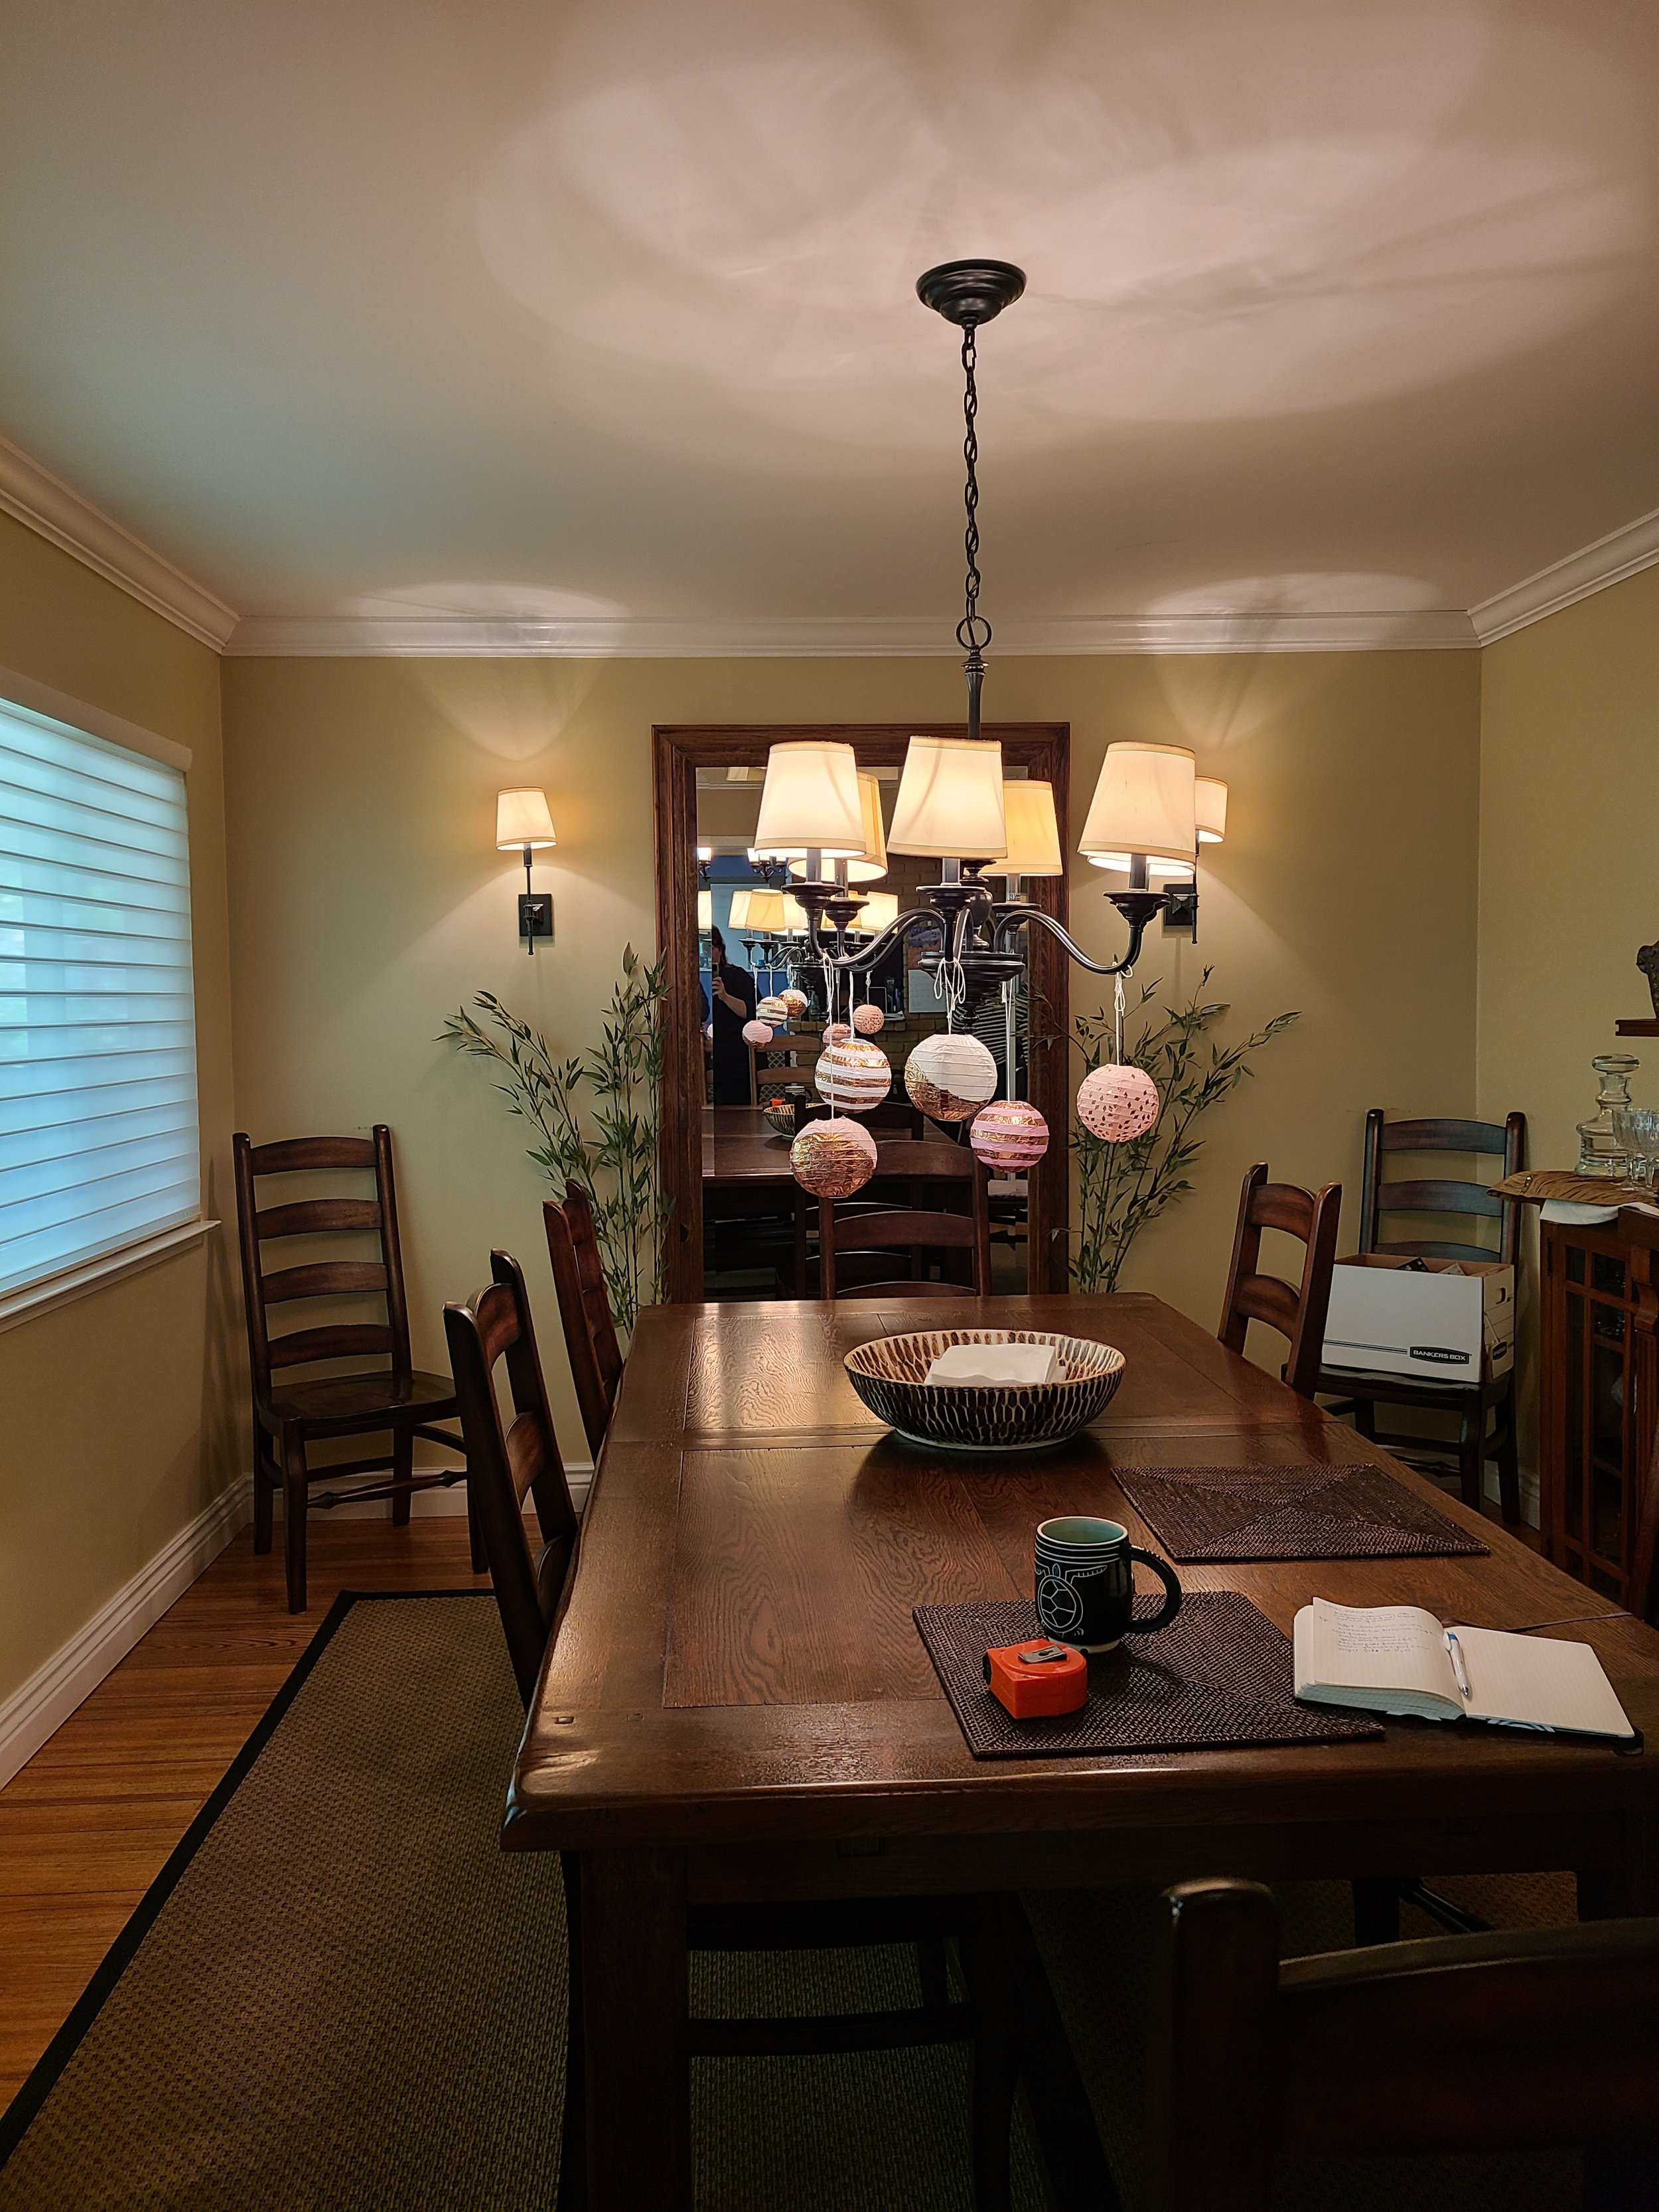
Before

Before. Note this is the large mirror that was repurposed to the left of the living room sofa.
AFTER: Our solution
We softened the space by adding neutral curtains (awaiting hemming) with a modern pattern, head and foot chairs that can be used for more formal occasions, a modern chandelier, a new patterned area rug, and an original art piece highlighted by a feature wall painted to tie together the artwork and the upholstered seating in the adjoining office area. We removed the two sconces on the feature art wall as they really weren’t needed. We have custom art in the works for the space over the heirloom buffet.
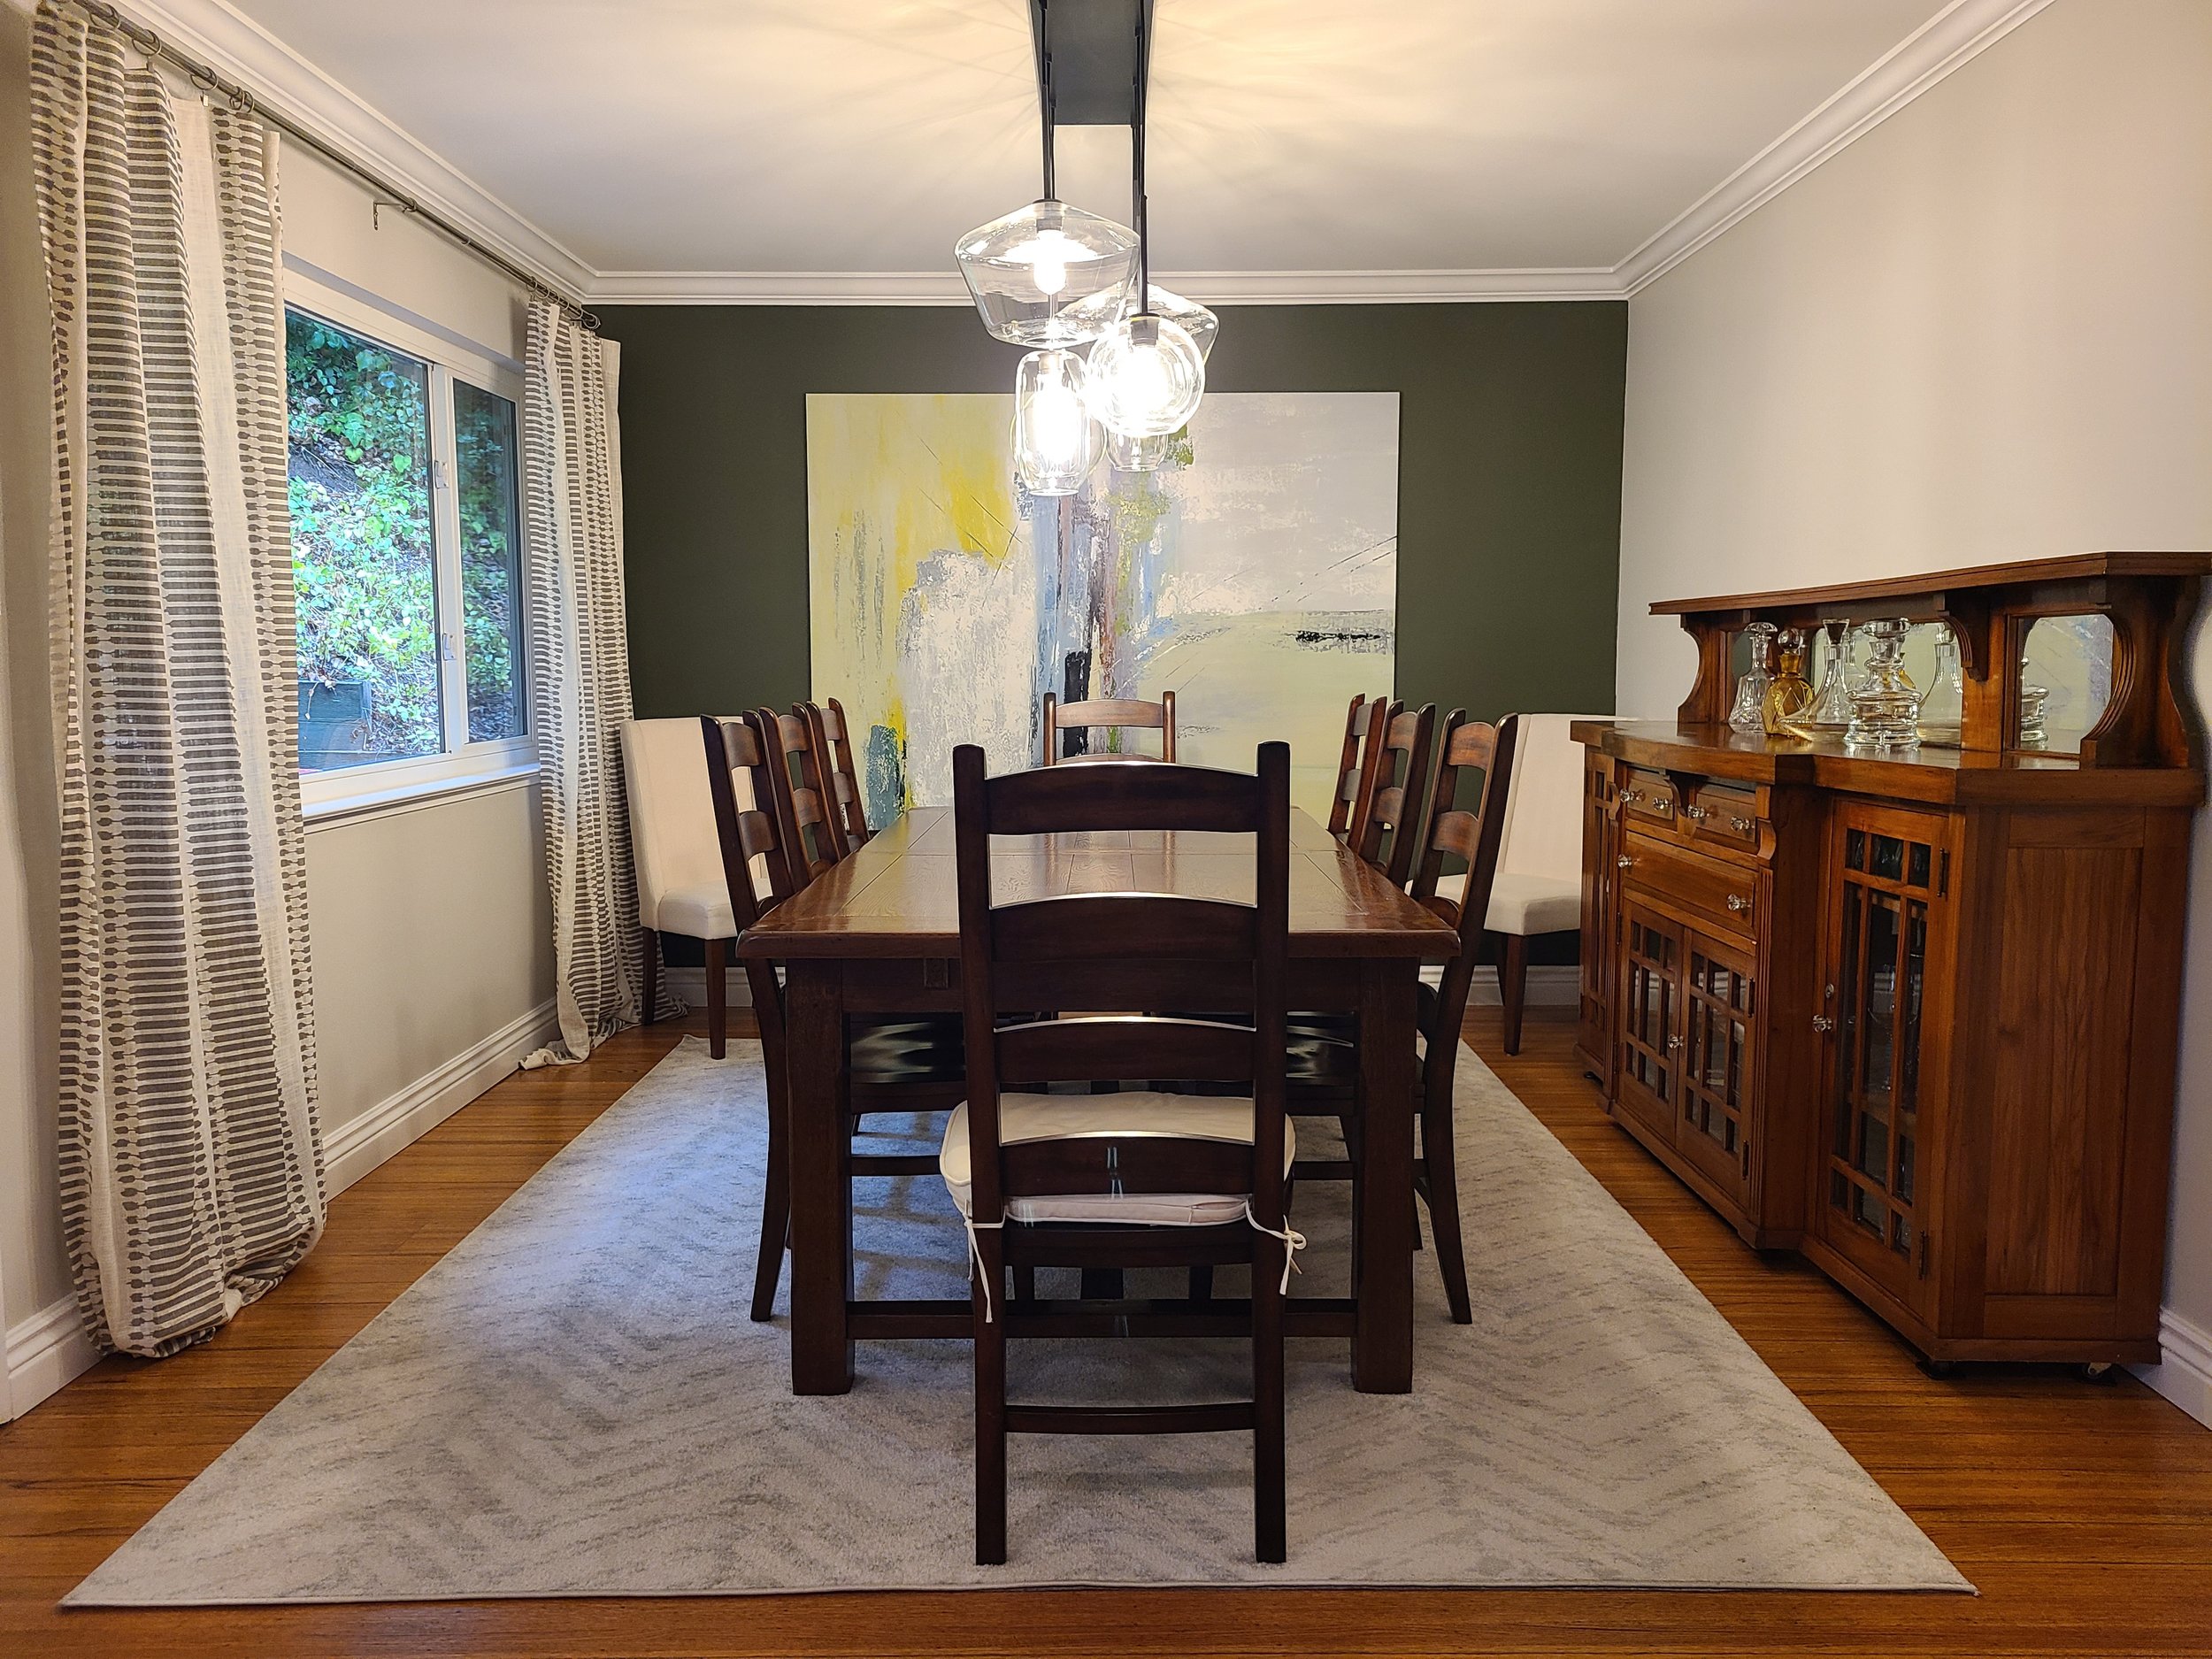
After
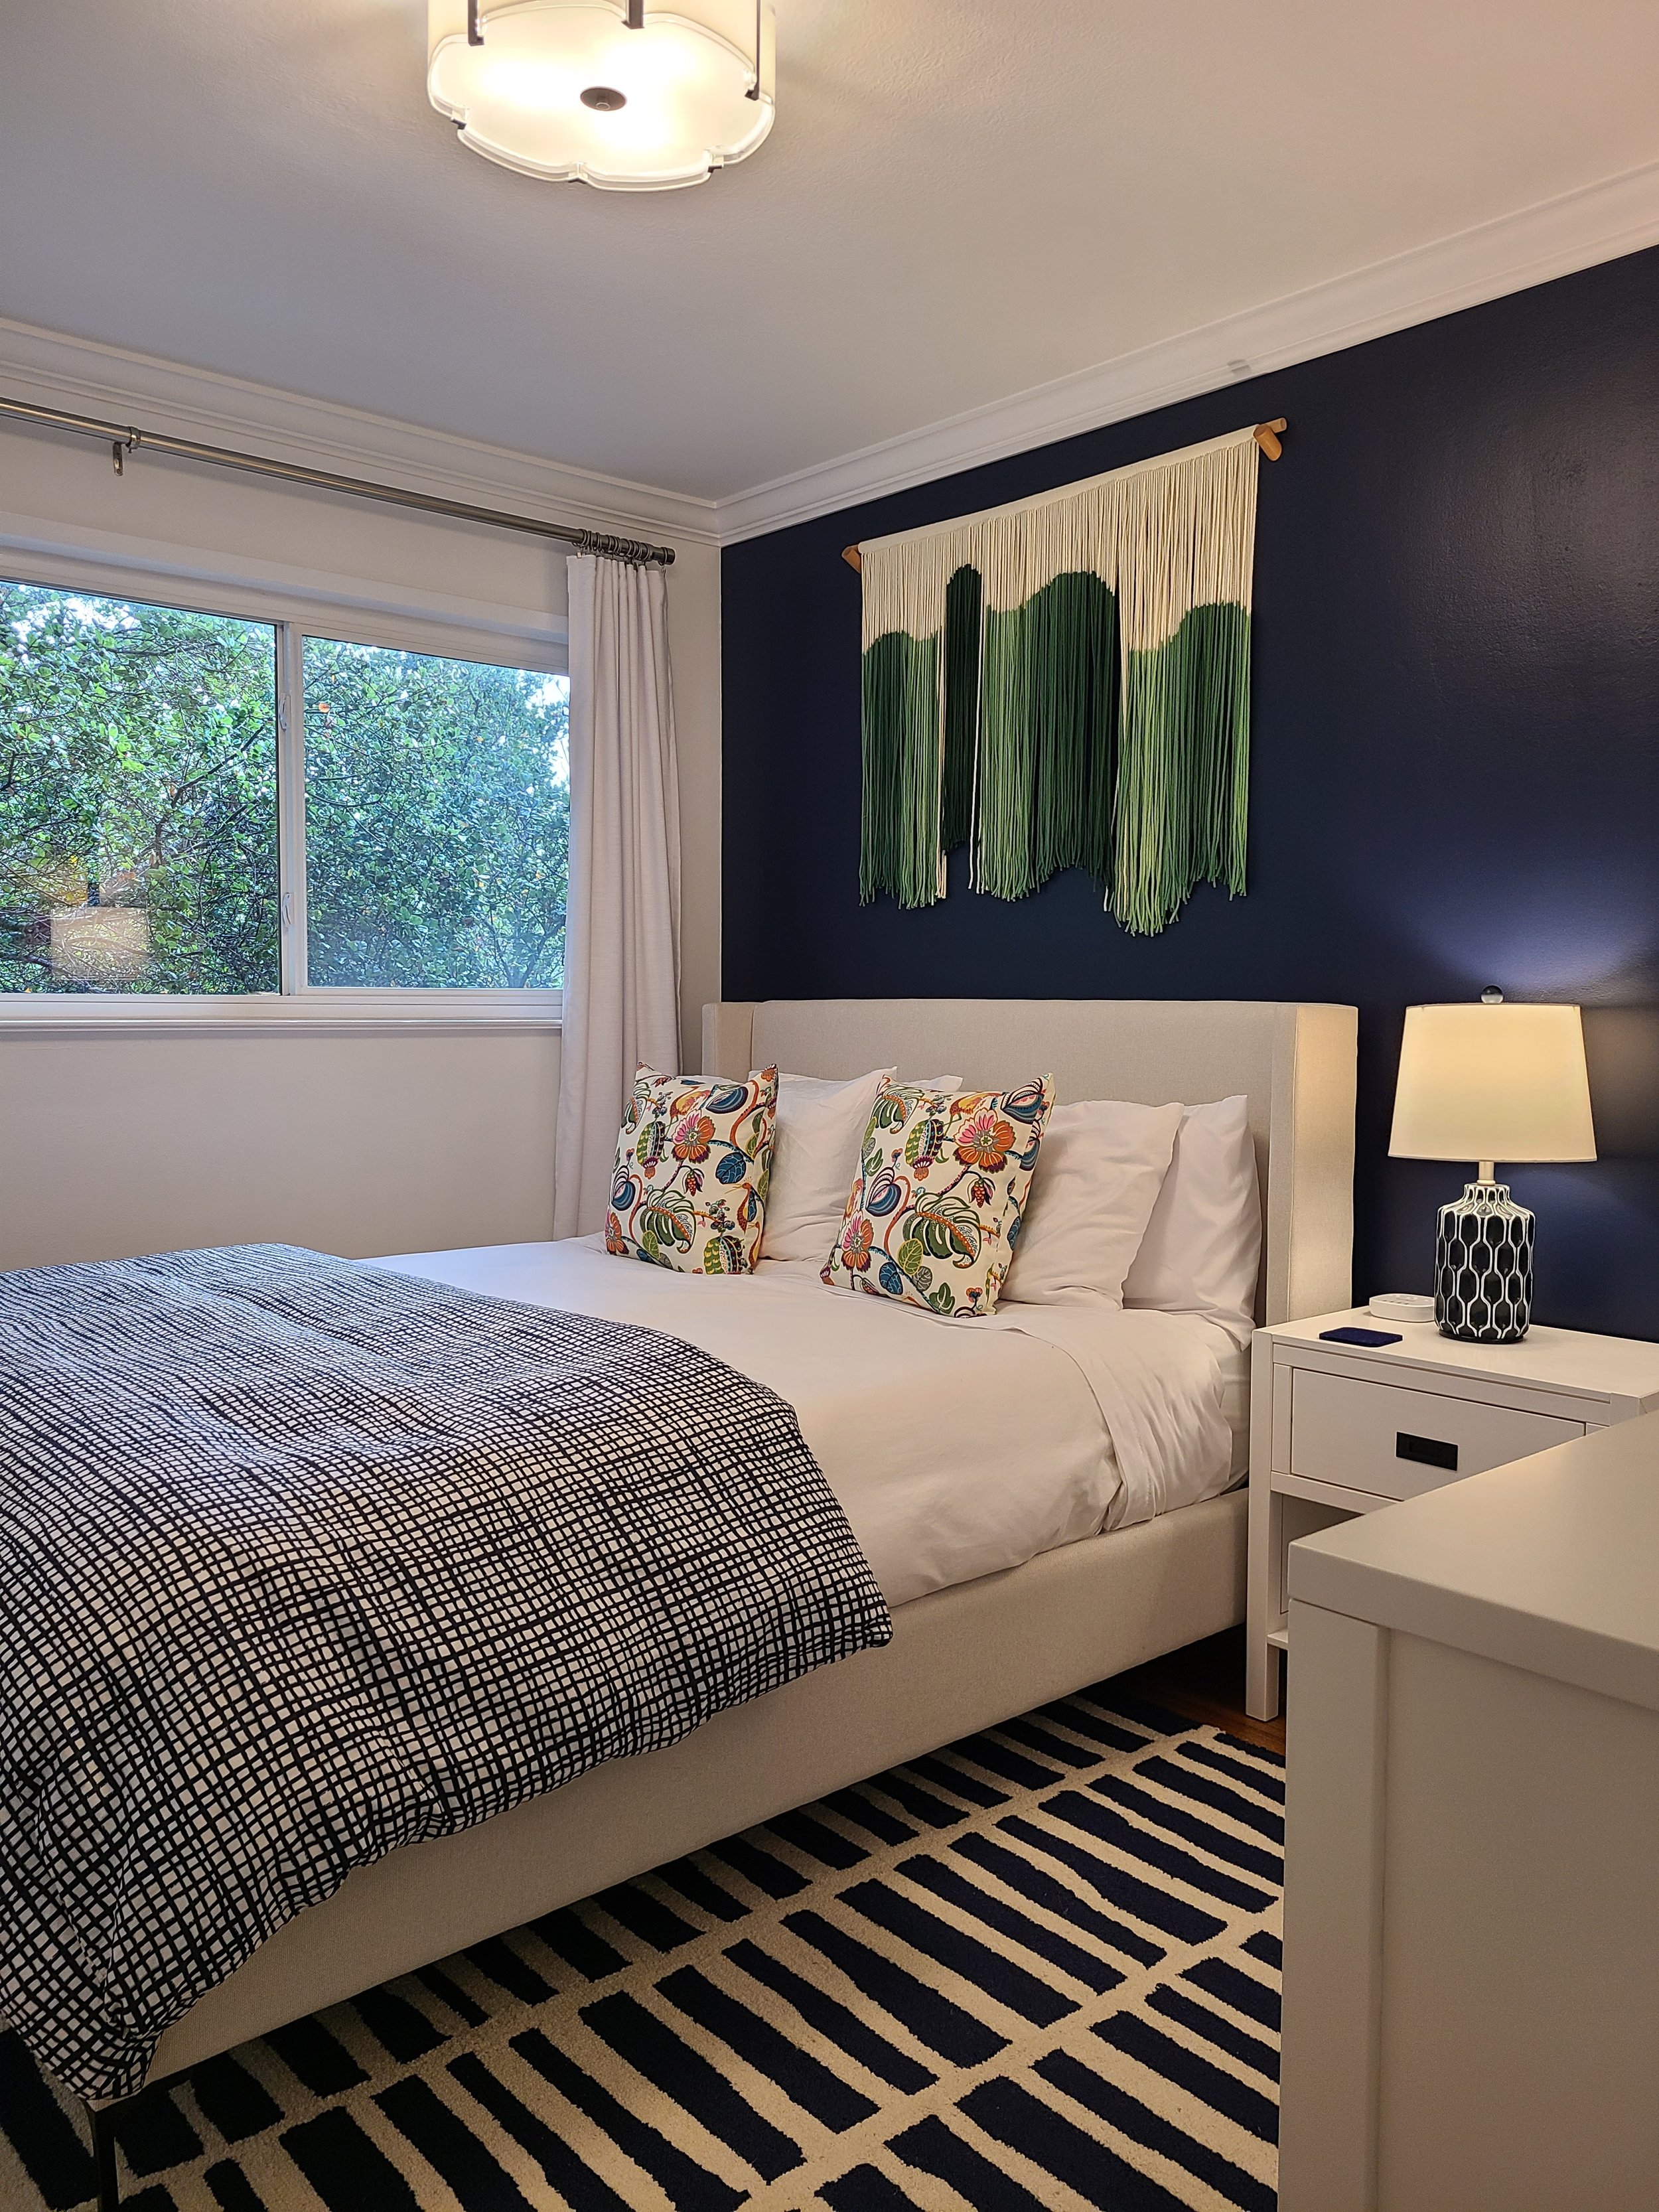
PRIMARY BEDROOM
The primary bedroom is not an especially large space but, it has nice access to the back patio (to be redone in Phase 2) and incorporates an en-suite bathroom. The bathrooms will go through a renovation in the future.
Keeping the artwork over the dresser and having a full length mirror were the only requisite.
The goal for the primary bedroom was for it to become a warm, tranquil respite but still have a modern personality.
Here is where the space started;

Before
Before

Before

Before
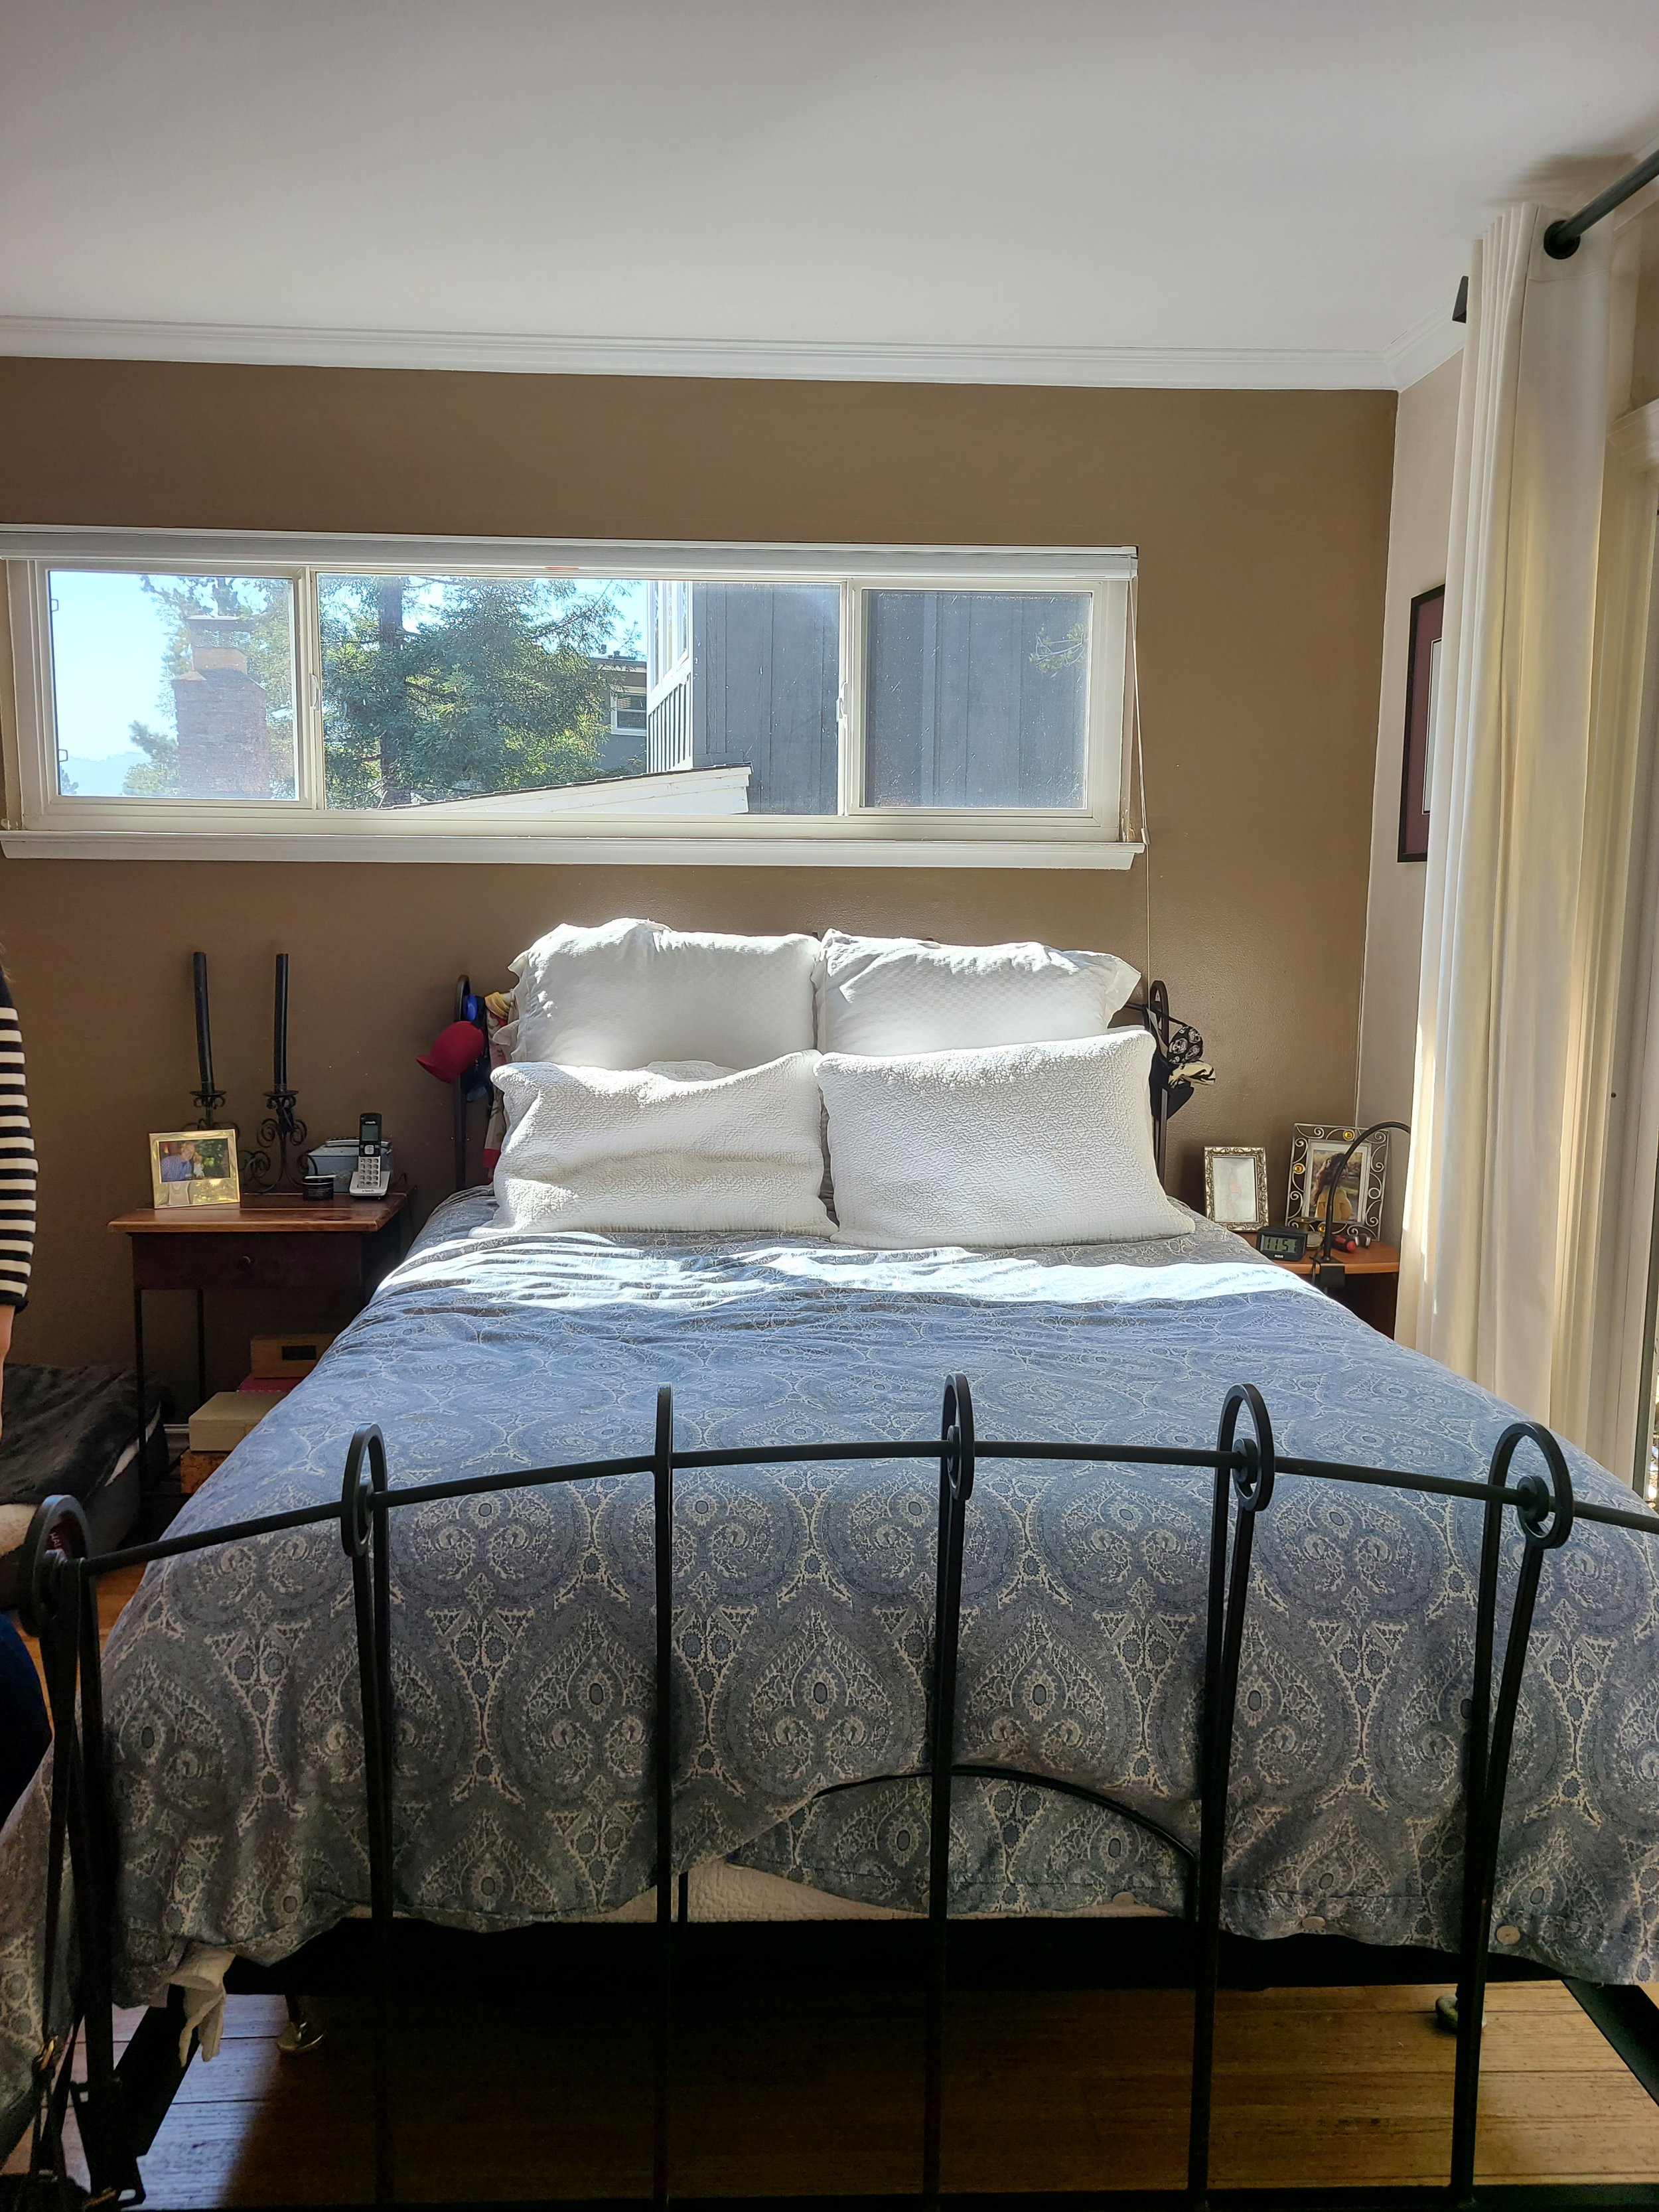
AFTER: Our solution
We kept a neutral color palette but, added some drama and contrast with a dark accent wall behind the headboard. The new upholstered bed frame and overhead light fixture added sophistication. The patterned bedding and carved dresser front added actual and visual texture.
We were able to keep the artwork over the dresser. We upgraded the full length mirror with a free-standing option that would sit to the left of the closet. But, in the end, the owner wanted to have a coat/hat rack in that corner and they relocated the mirror to the left of the bed. Though a bit crowded, it still works and best of all, it meets their needs and that is what is most important!

After

After

After
GUEST BEDROOM
There are actually two guest bedrooms in this home. We refurnished both. One of them doubles as a very active office space. With the busy-ness of that space we won’t be sharing that here. But, it has been updated and is primed for guest use once all the office items are put away.
In the meantime, here are some before and afters of the other guest bedroom.
This room is frequently used by visitors. We were asked to keep a dresser and the TV but could forgo the lounge chair.
Our goal was to create a fun, cheery space for their guests.
Here are the before and afters.

Before

Before

Before
AFTER: Our solution
What we did:
Added a bedframe with head and footboard
New lighting: overhead, bedside and on dresser
Larger scale, relocated dresser (owner wanted forgo the chair for a larger dresser for storage)
Added an area rug as cozy landing pad when getting out of bed
Dark accent wall to add contrast with furnishings
Soft artwork over bed (in California it is best not to have heavy artwork over beds in case of earthquakes while sleeping)
Colorful accents
Fun colors, contrast, texture and pattern make for a cheery, inviting guest bedroom!
And yes, we are still planning to hem the curtains.

After
After

After

After
That’s an update on our work for Round 1. Reach out if you need help refurnishings any part of your home. We would love to help!